
The Big Project
In 2020, Carlos Home Remodeling was selected to renovate the ensuite bathroom of the primary bedroom and put wood floors throughout the downstairs. In 2021, Carlos returned to remodel the upstairs bathroom and put in wood floors through that floor. In the summer of 2024, the homeowner chose Carlos again for a major expansion and remodel. There were numerous moving parts that Carlos had to navigate for this major project:
The work began in the summer of 2025, after months of delays with the City of Austin Residential Plan Review. The architect and City had significant and lengthy discussions about pervious coverage on the property, as the City recently had changed their regulations. There was also a 25 year old expired building permit, filed by a previous owner for work which was never done—creating further complications.
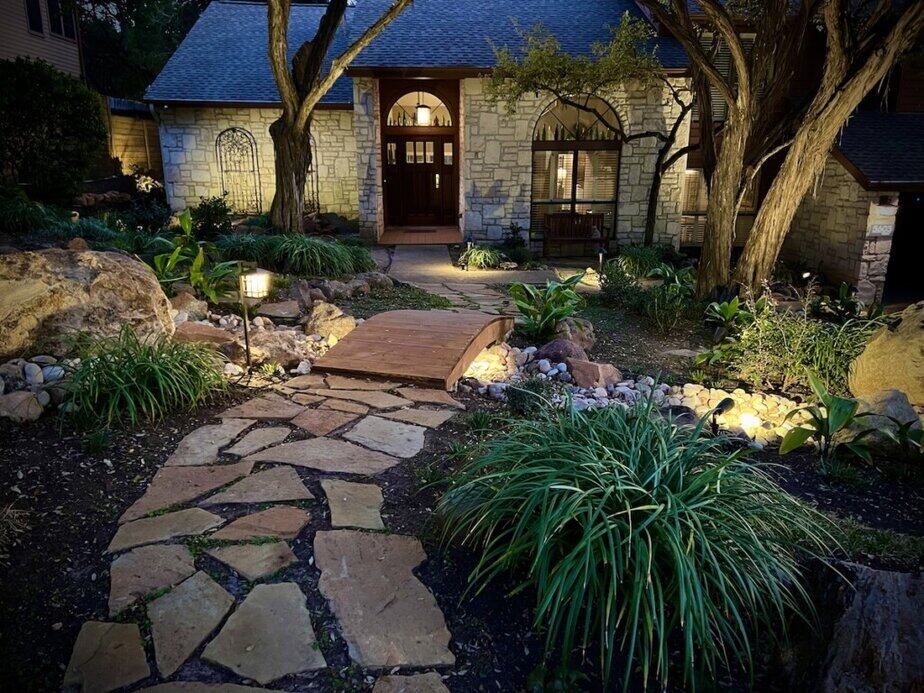
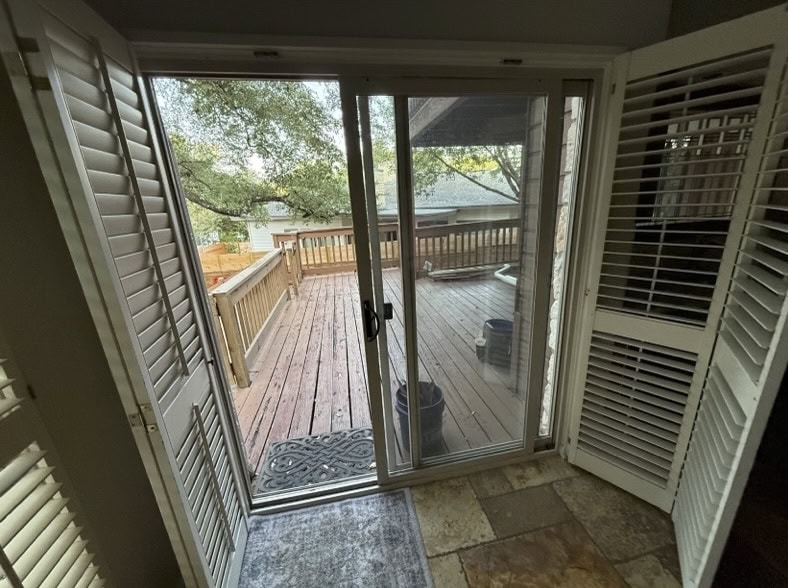
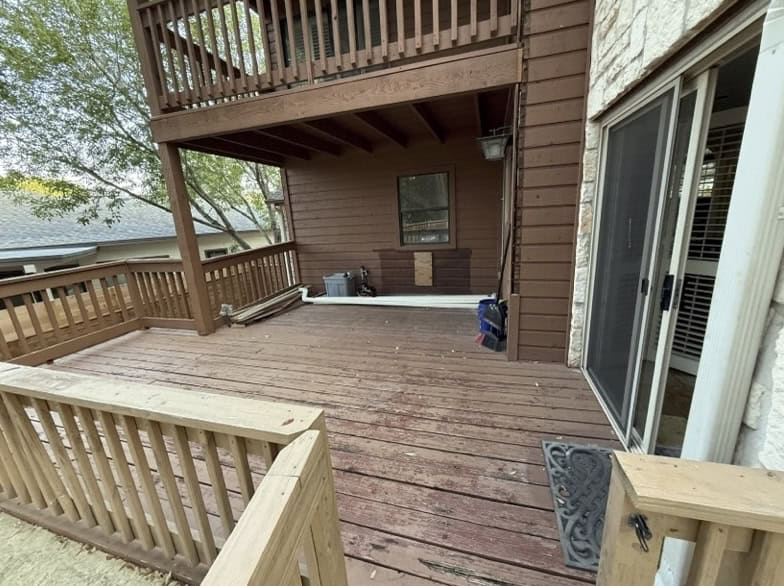
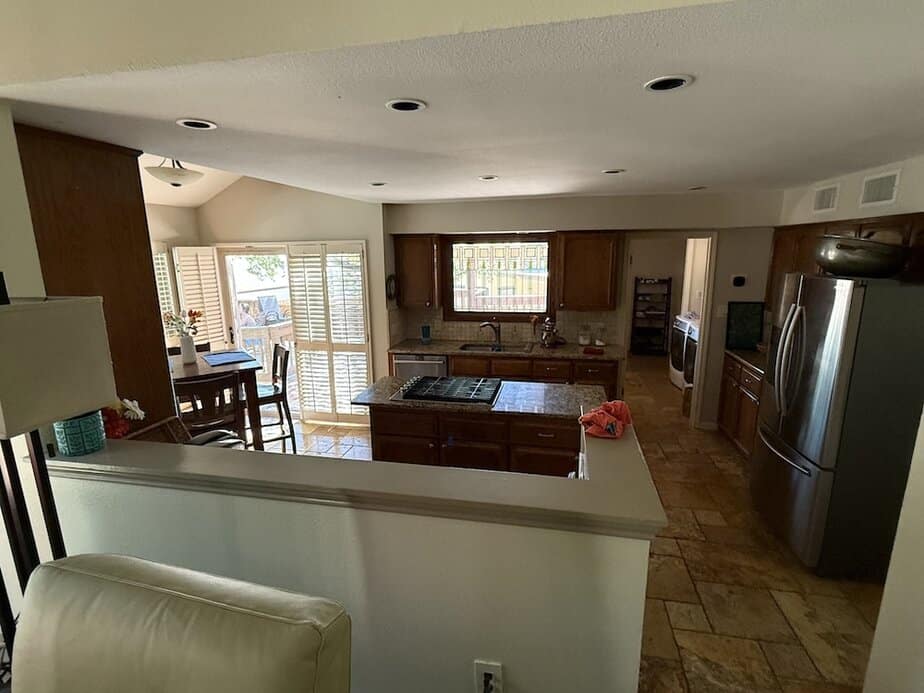
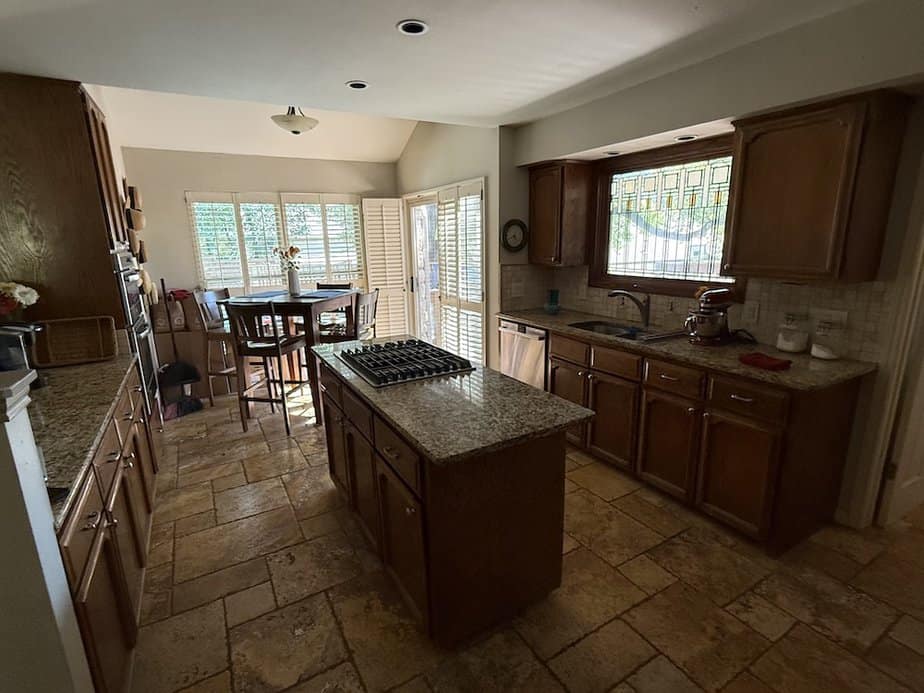
Before the Work Began
Click on an image to enlarge it
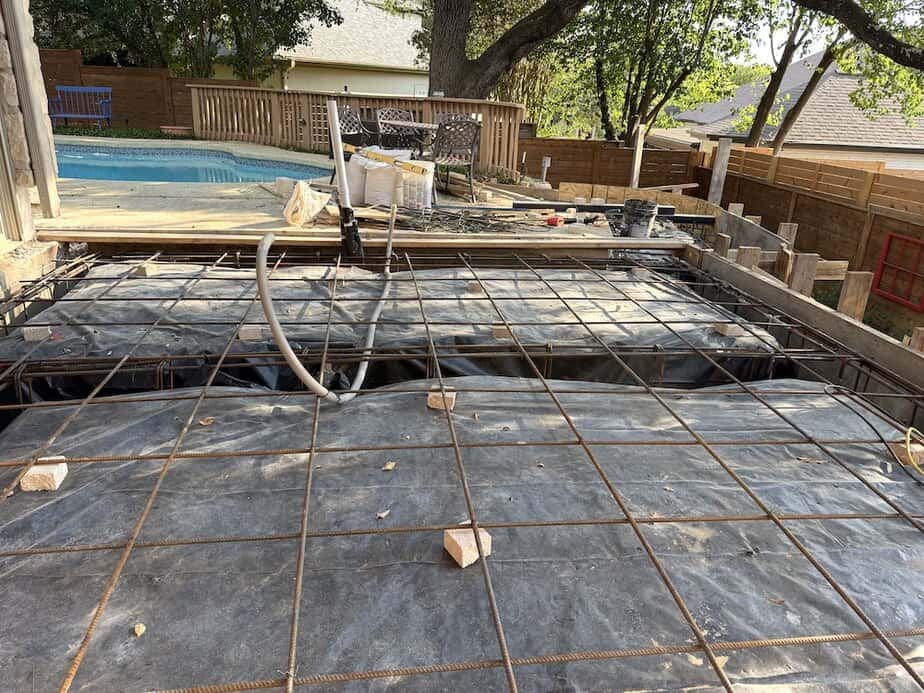
Demolition of the Deck & the Pour
Click on an image to enlarge it
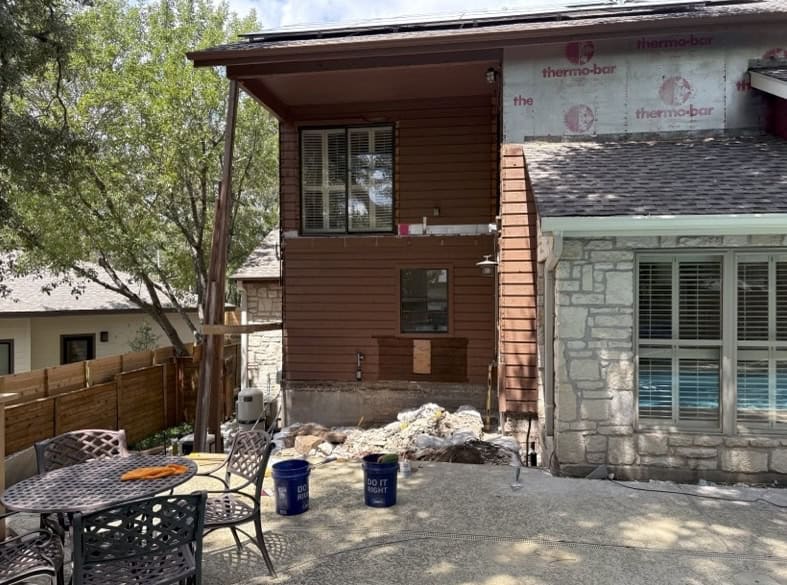
The project required significant excavation.
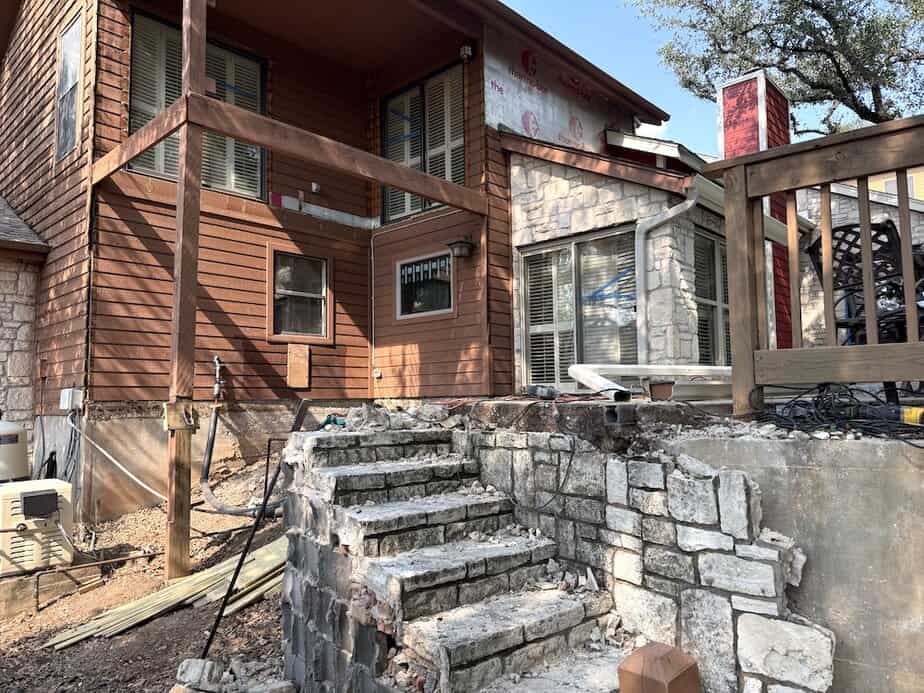
The land slopes down, going down about 5 feet for the project.
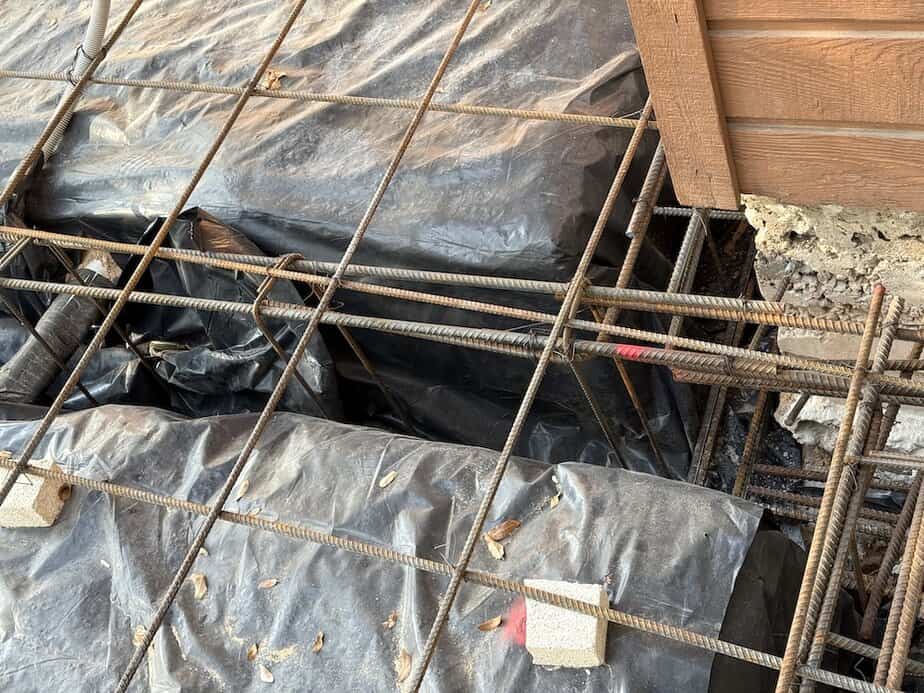
MLAW Engineers confirmed that the huge amount of rebar was set properly.
Take plenty of pictures of your project … things happen rapidly.
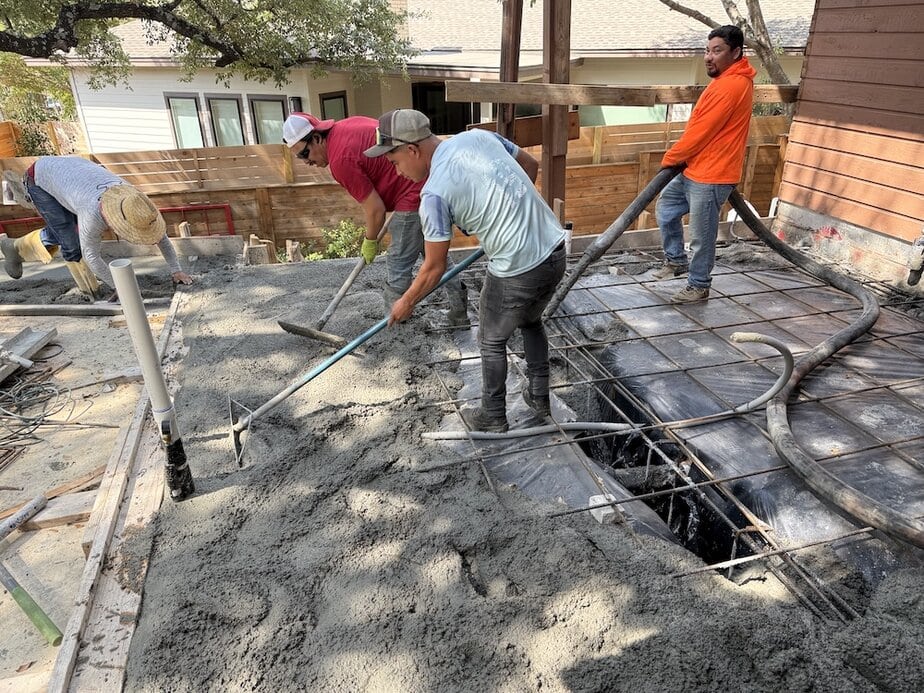
The new foundation required two truckloads of cement—15 cubic yards or 60,000 pounds
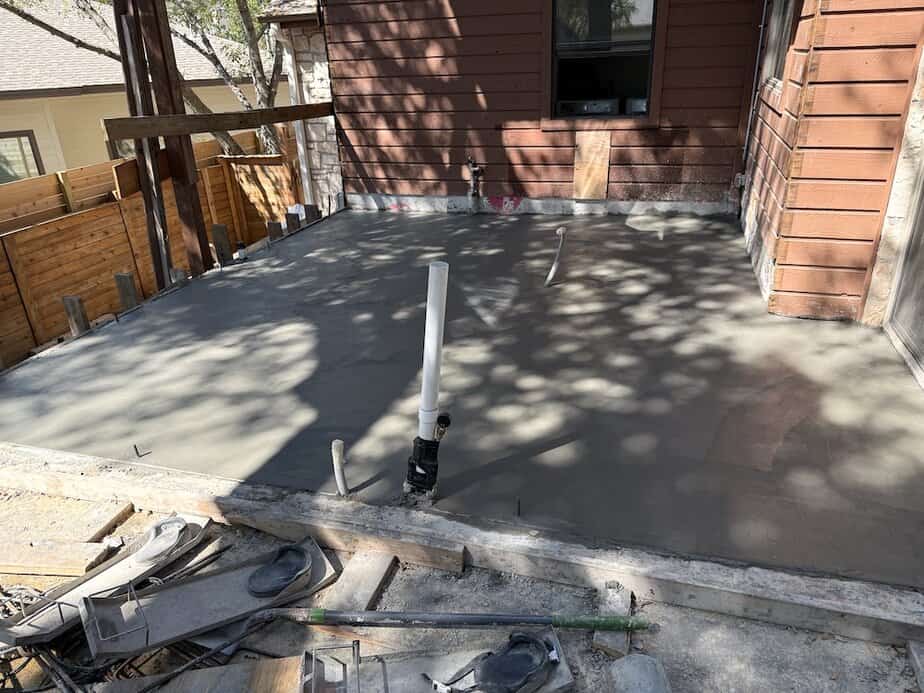
It looks so simple when it is poured and curing.
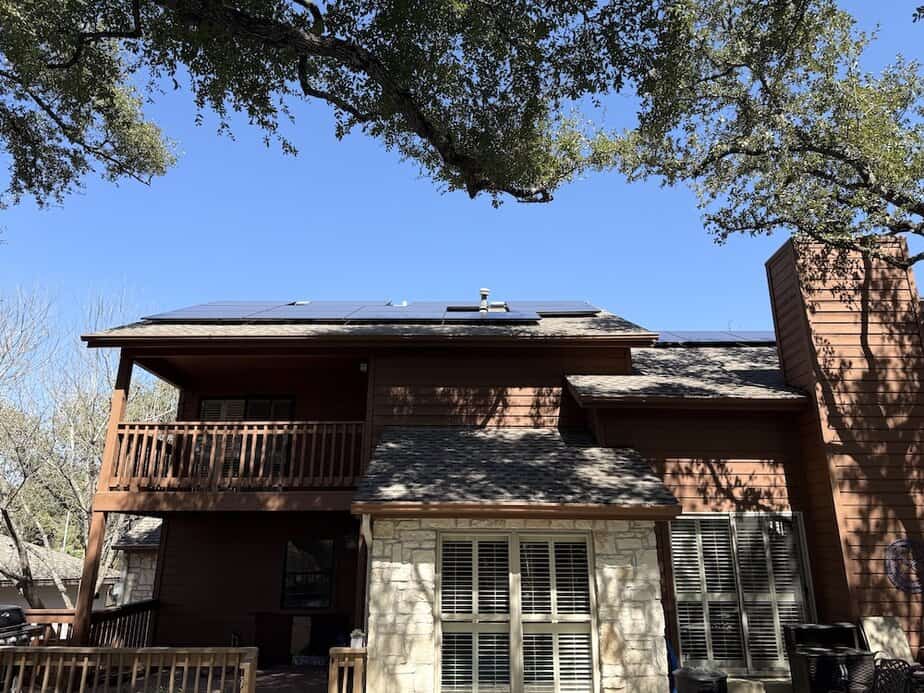
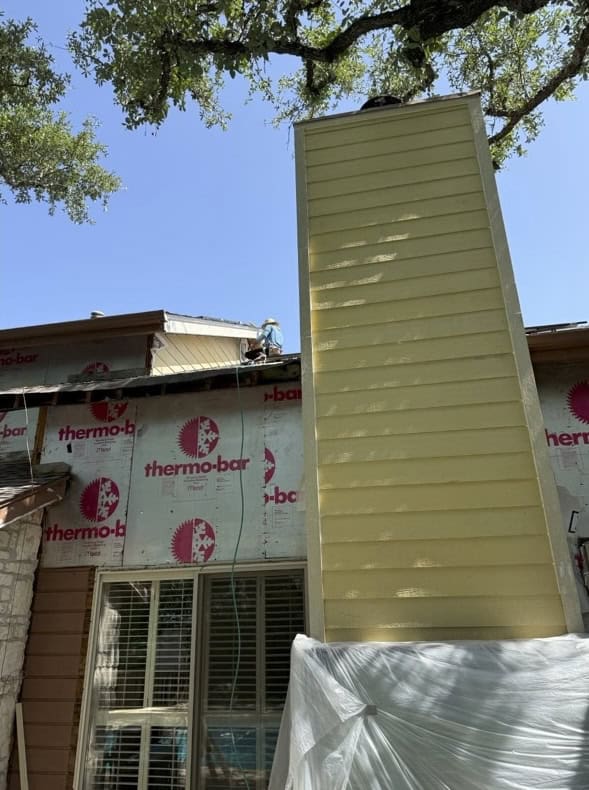
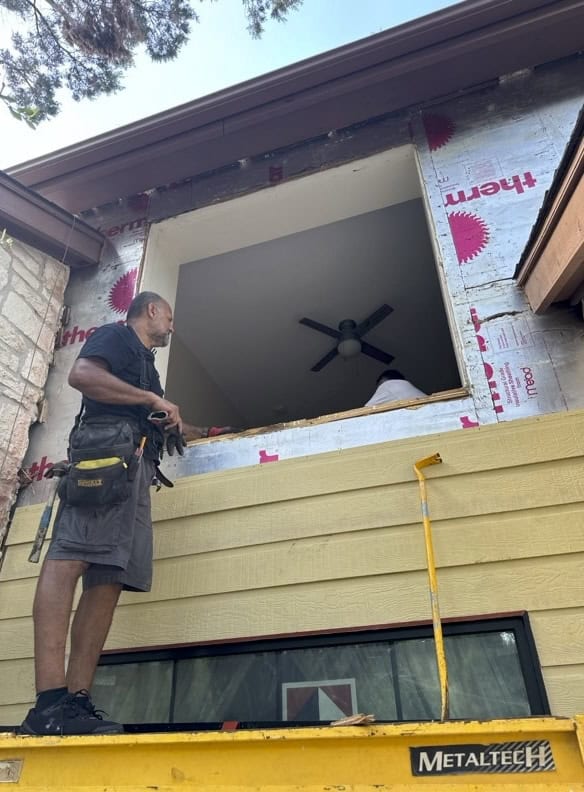
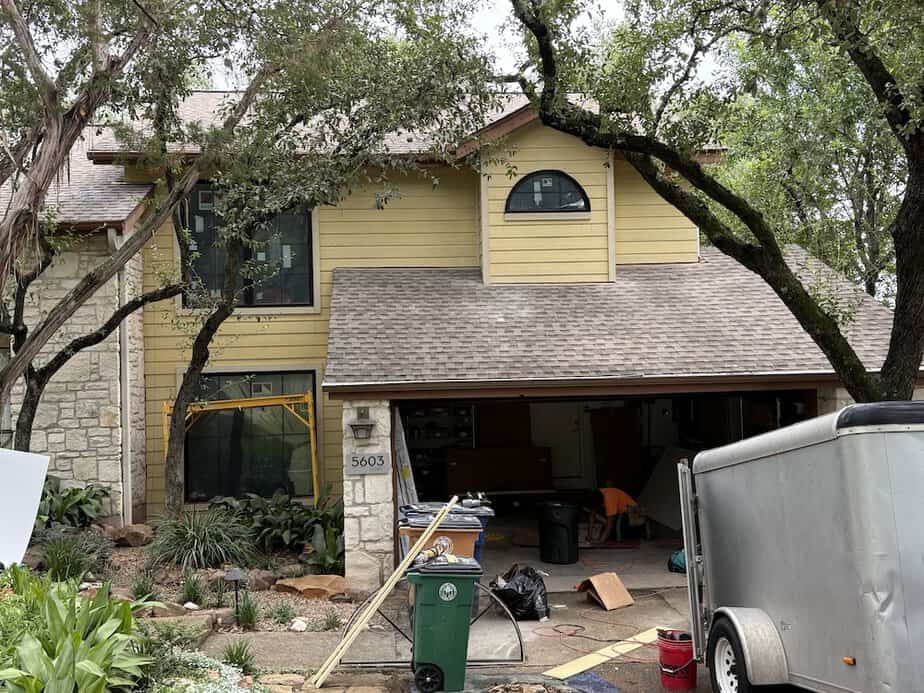
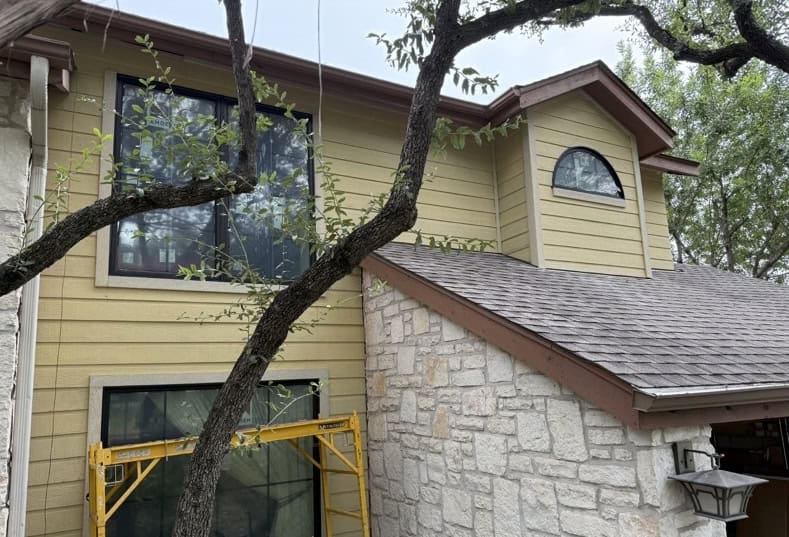
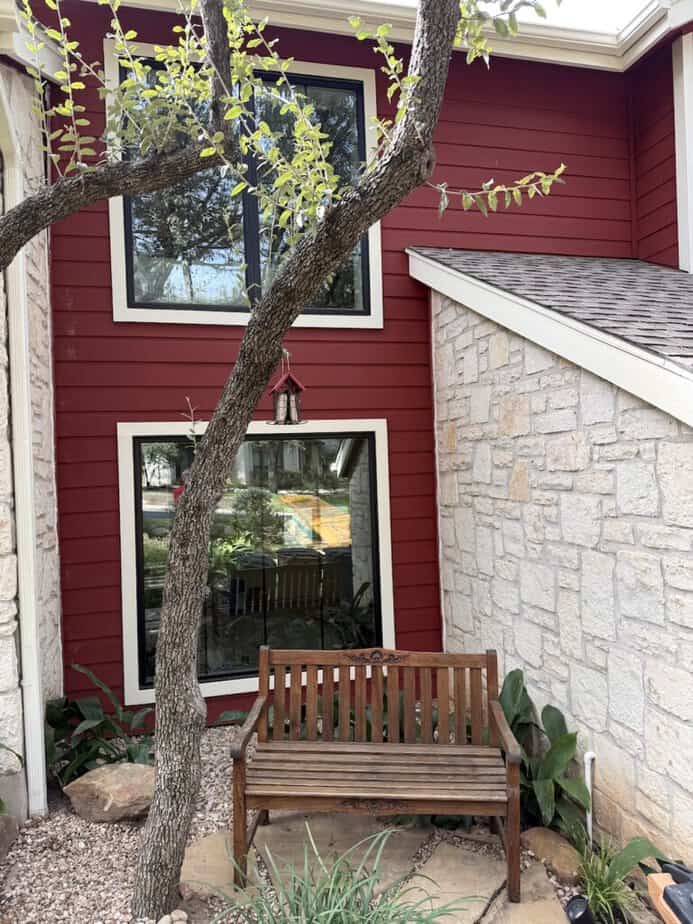
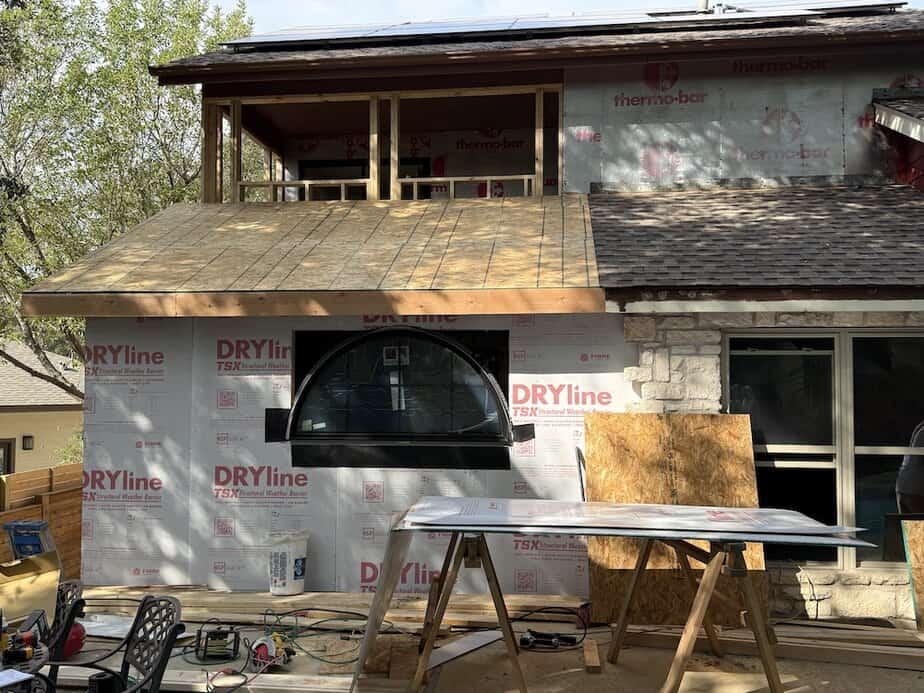
Windows & Siding
Click on an image to enlarge it
The original cedar siding was a delight to squirrels to chew on, as well as being a fire hazard. Andersen windows were used and JamesHardie Hardie Plank for the siding.
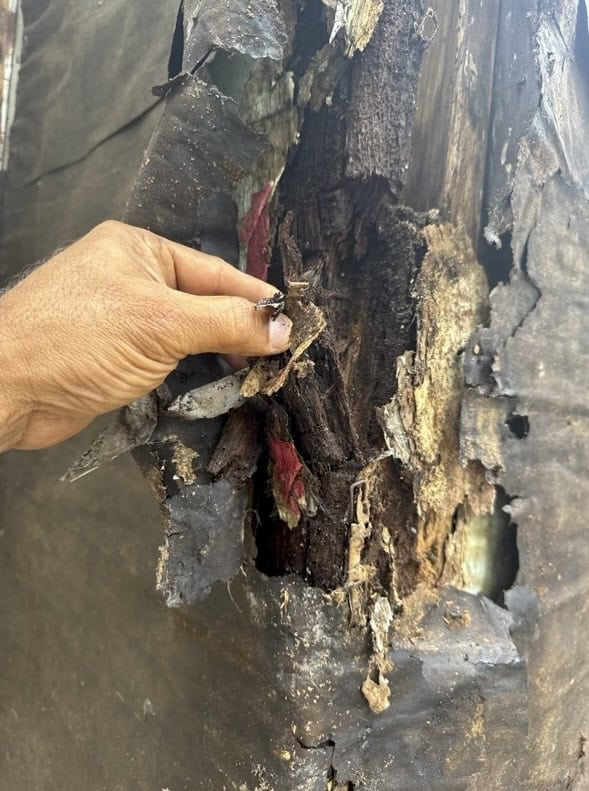
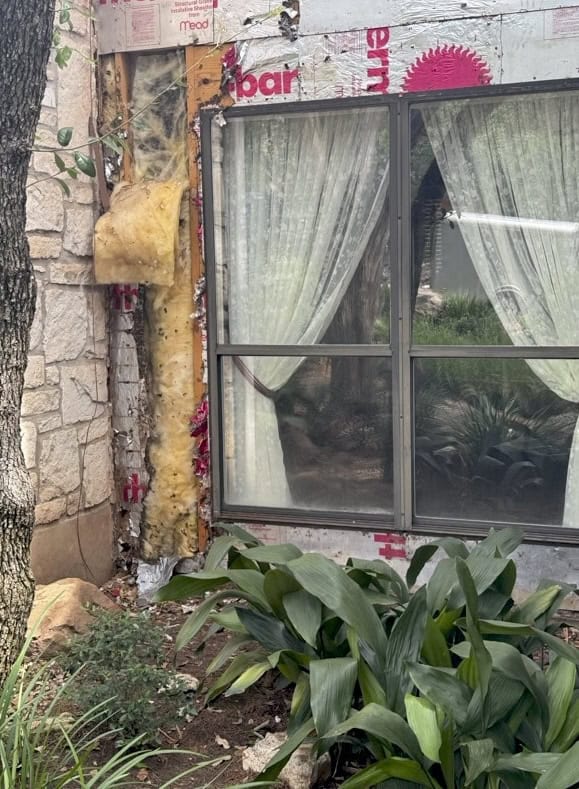
A former contractor ten years ago replaced the cedar siding on the chimney, but never told the homeowners about wood rot (ugh).
Carlos found and fixed the problem.
The squirrels won’t gnaw at the Hardie board as they did with cedar siding.
All the windows were 40 years old and needed to be replaced.
Before painting …
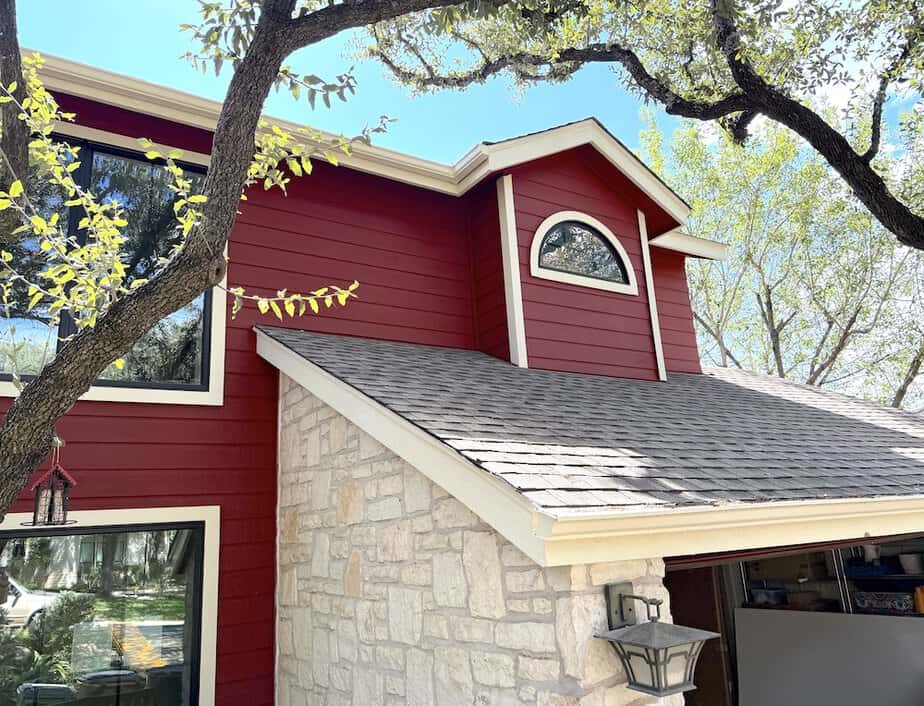
… and painted.
the old window …
… and the new windows, framed and painted.
From the inside, the windows look fabulous.
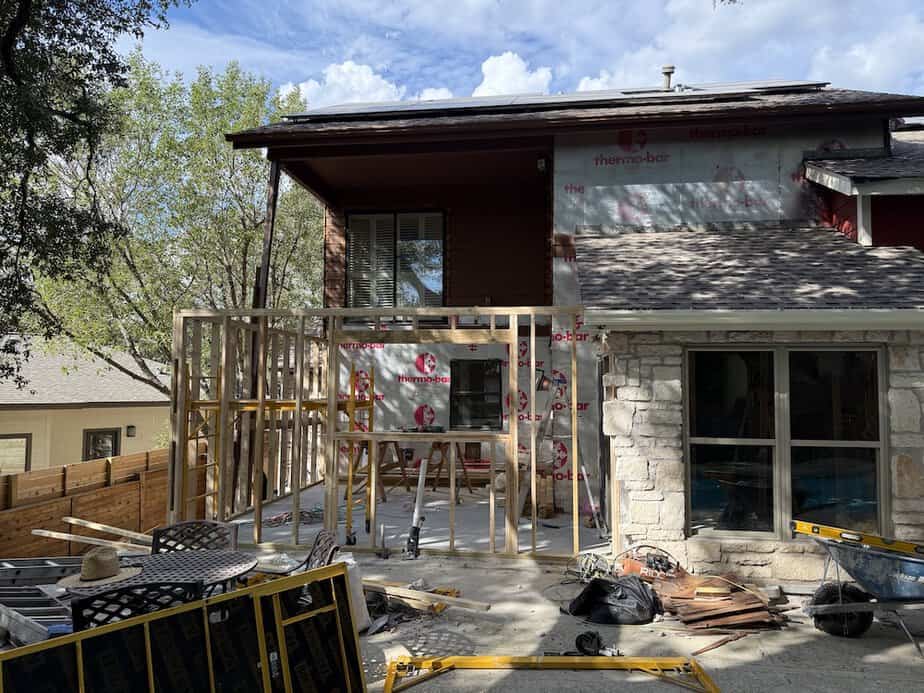
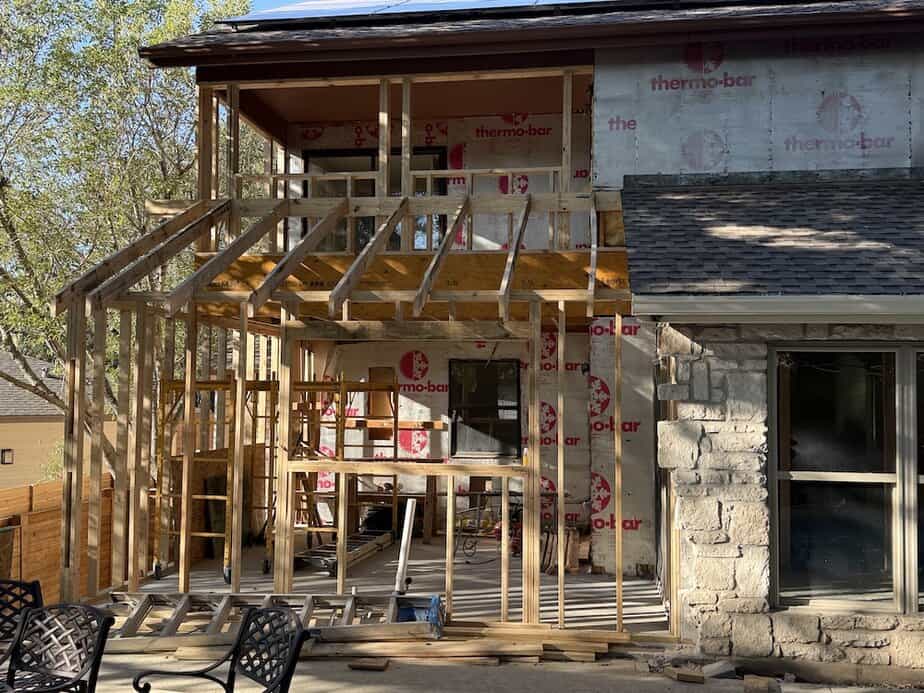
Framing
Click on an image to enlarge it
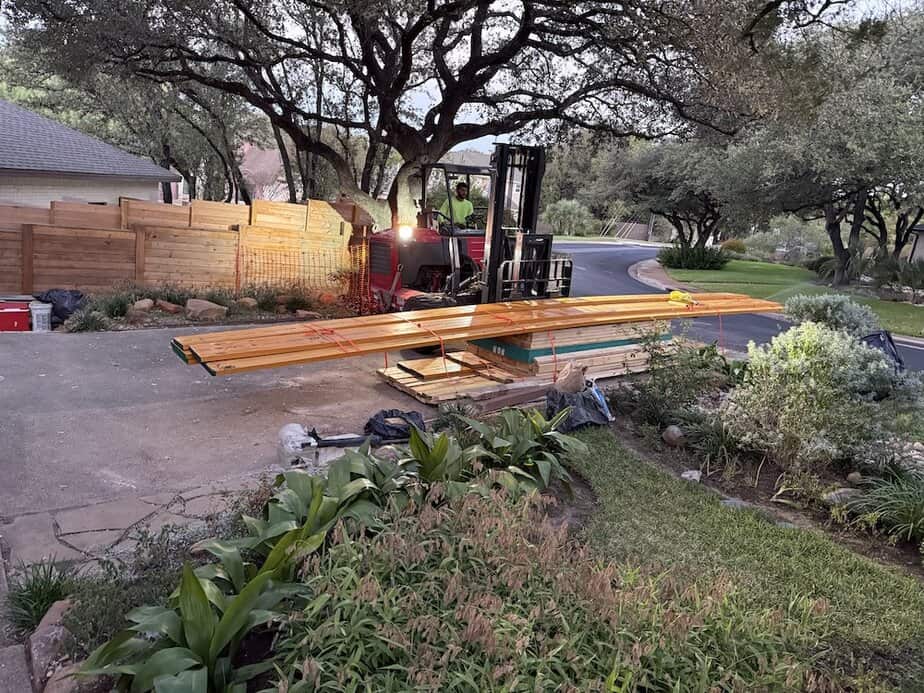
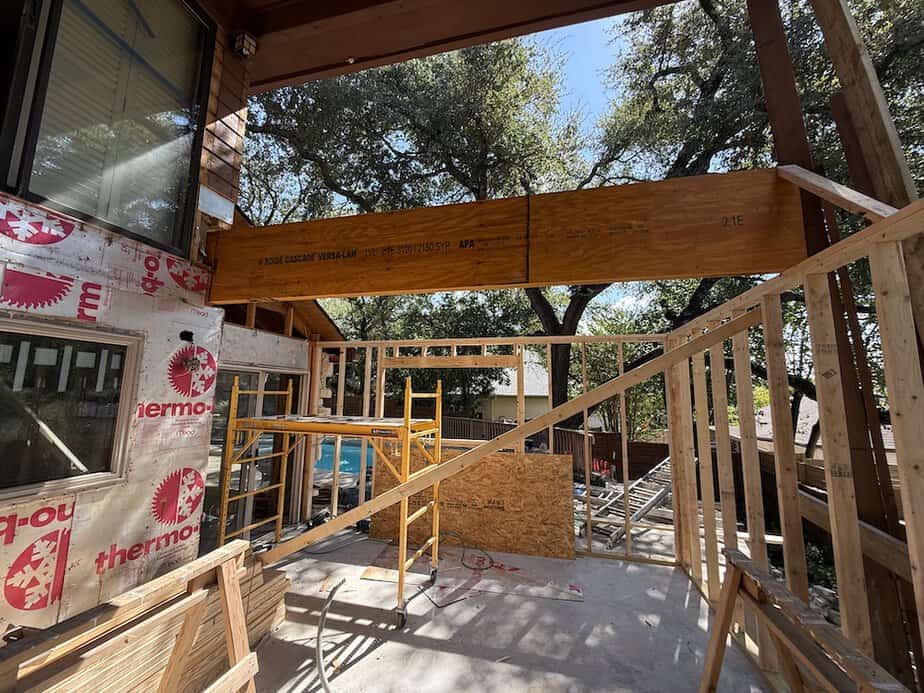
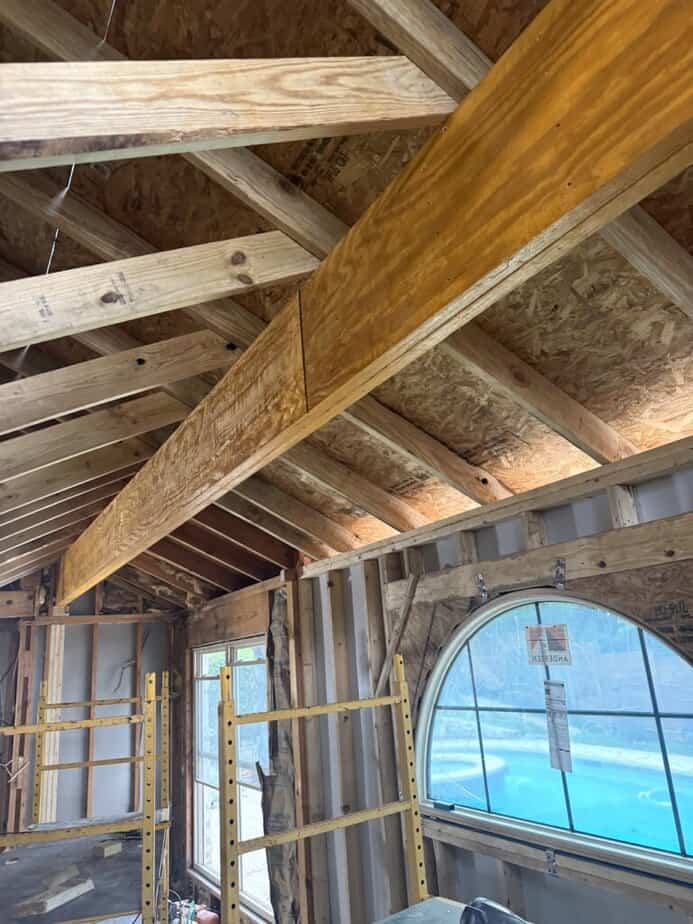
The beams are 28 feet long … easily seen here!
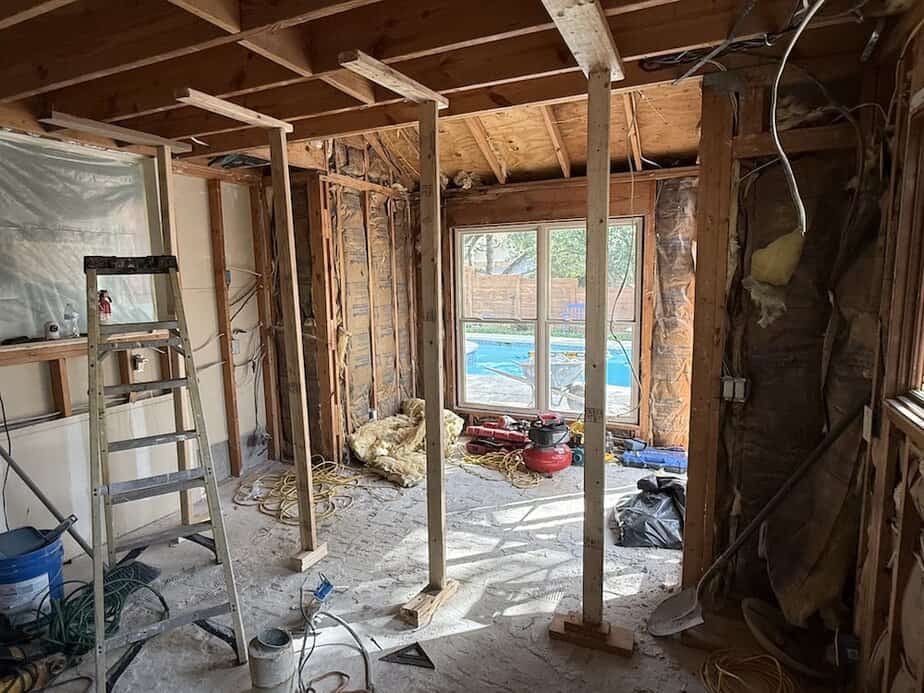
The ugly stage.
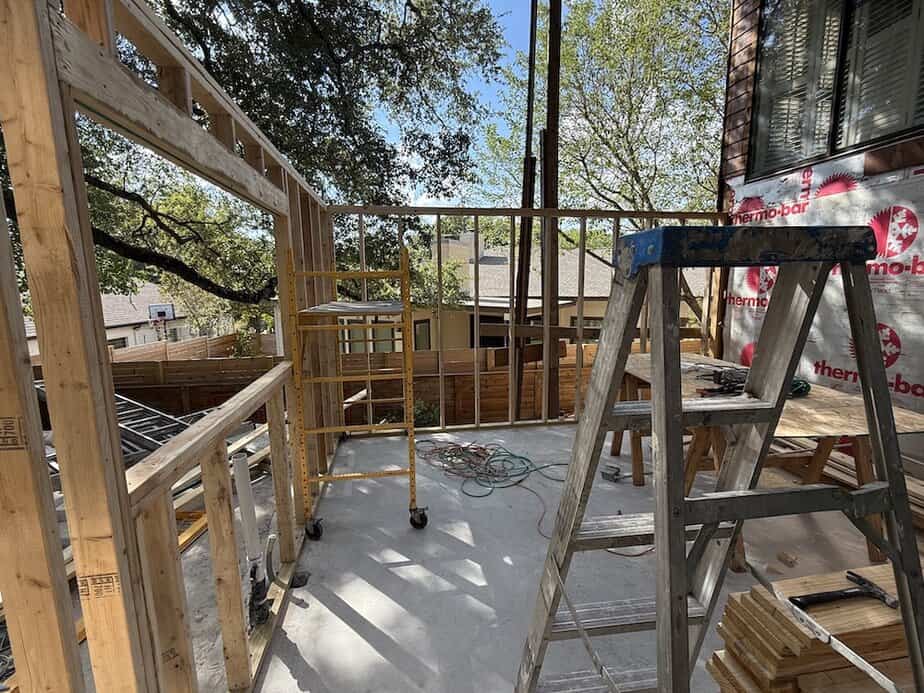
The fun stage begins.
Take photos every day of your project as things rapidly advance.
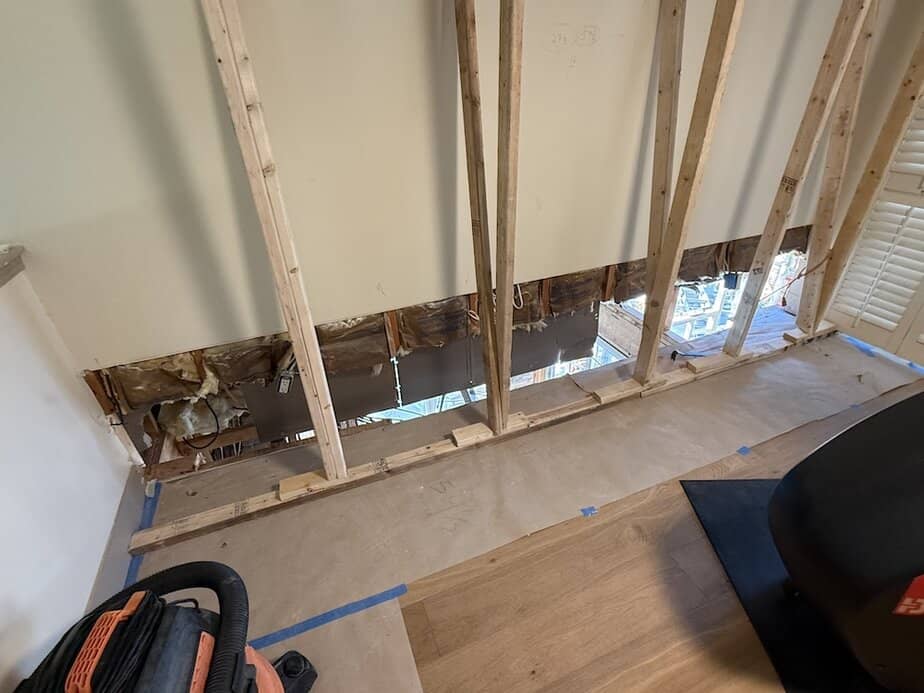
For the beam, a cut out was made so it would be recessed.
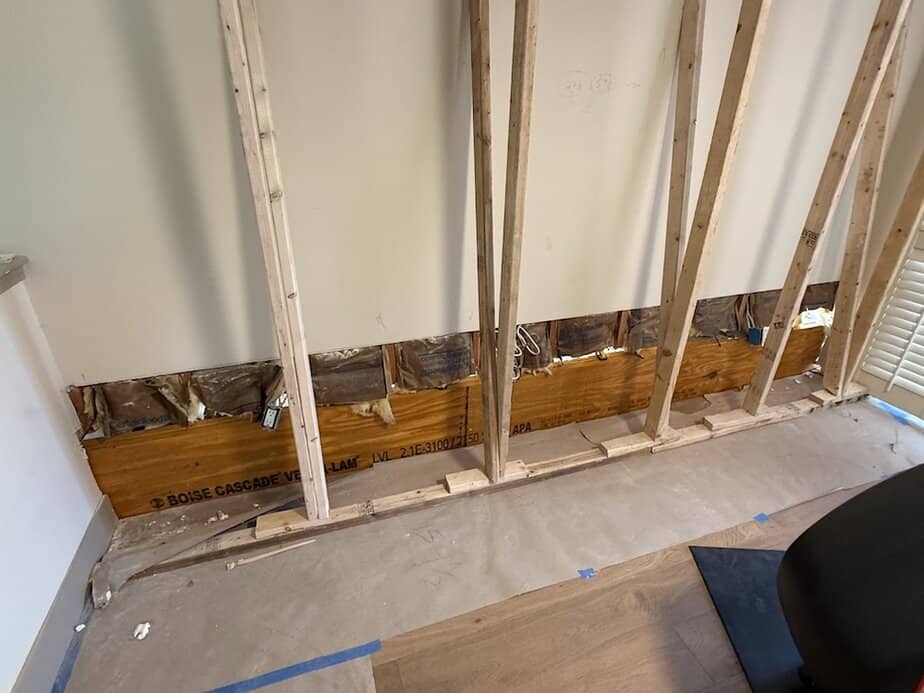
The long beam is in place and doesn’t protrude into the room below.
The long beam comes out from the existing house …
… and forms the structure for the larger kitchen.

Take pictures of your project from different angles.
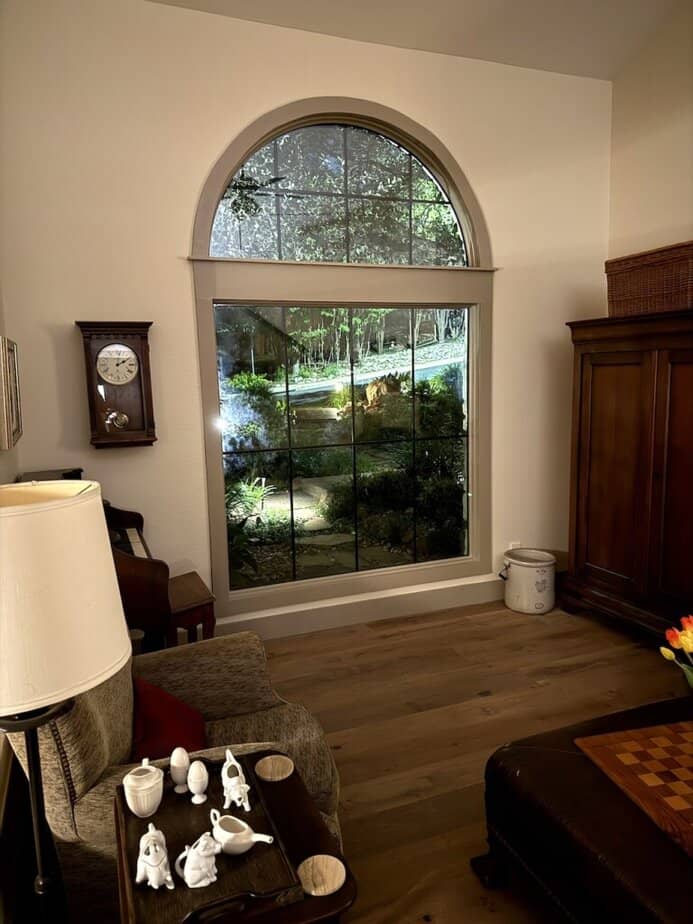
The first signs of what the finished project will look like. To put scale in perspective, the arched window is 6 feet wide.
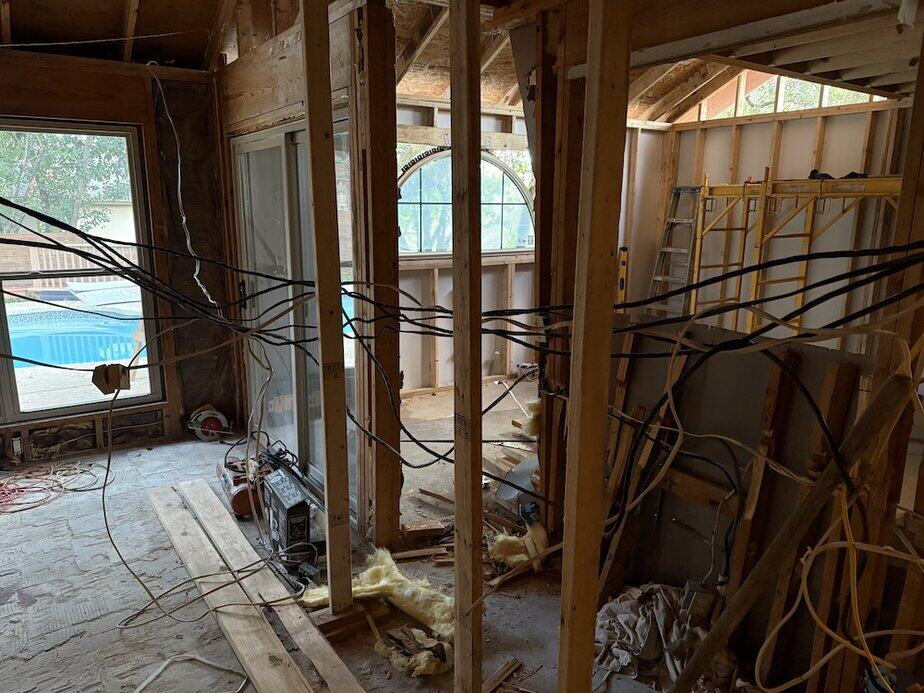
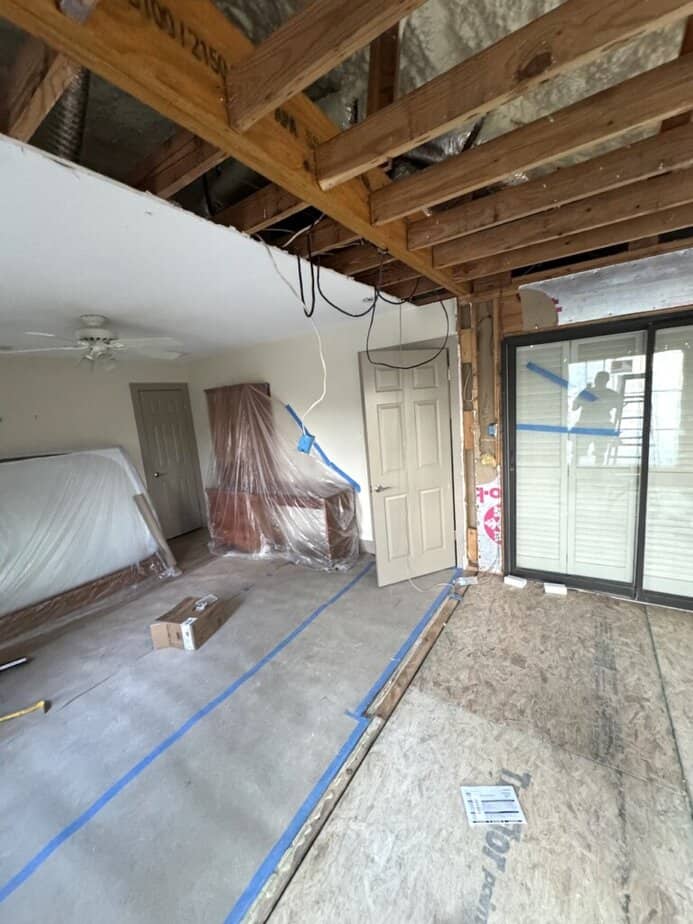
The work progresses from a maze of wires and wood …

… as Miguel skillfully continues under Carlos’ direction.
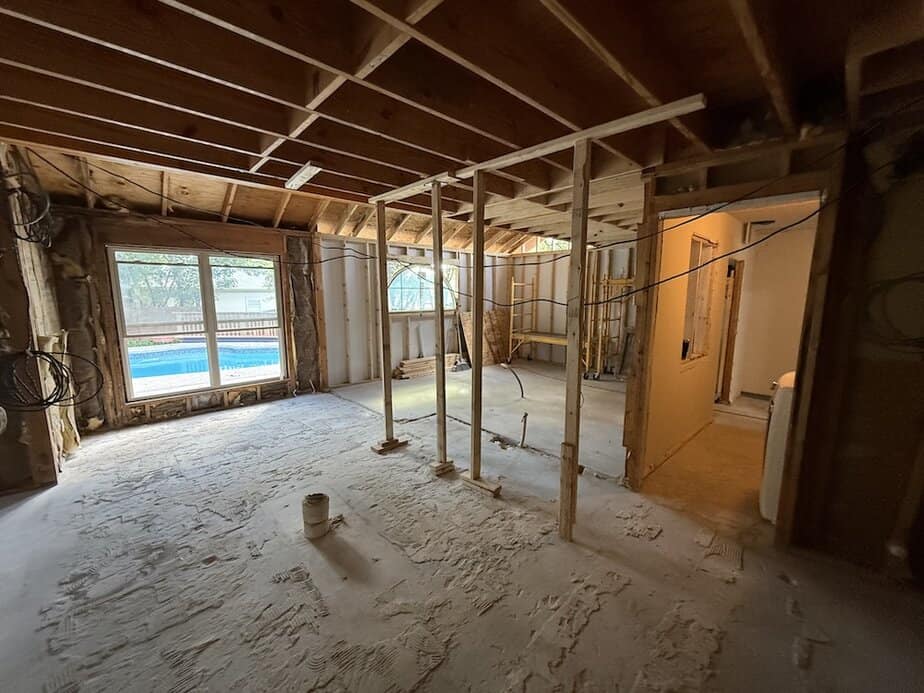
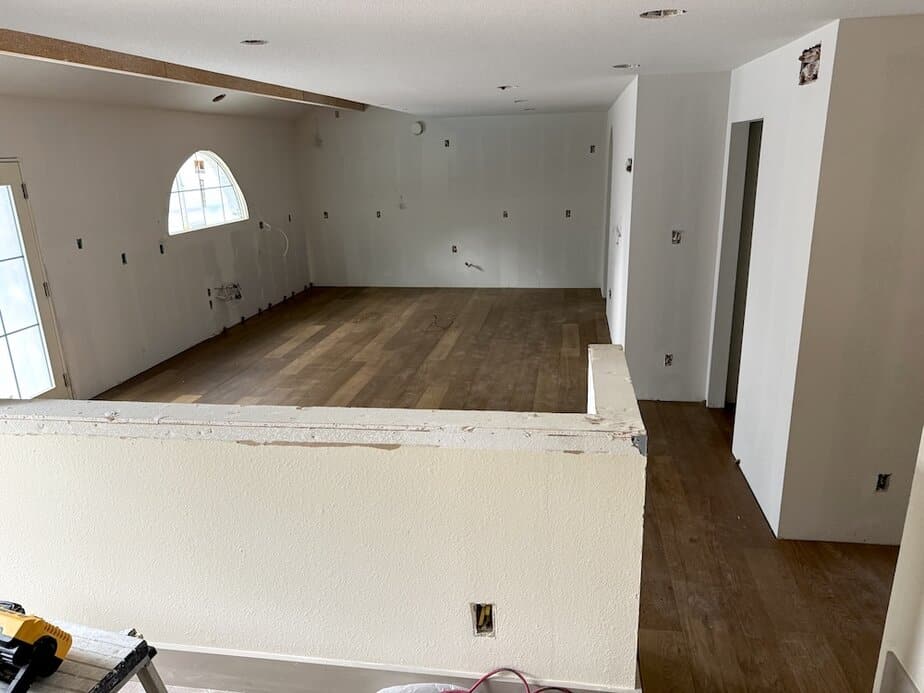
The size of the new kitchen is beginning to be seen.
The engineer called for another beam, a 16 inch beam for the vaulted ceiling, spanning the 27 feet of the new kitchen. Carlos double-checked with the engineer on the size. The engineer wanted a 16 in beam so that over time it wouldn’t sag and cause problems with the roof joists. Always get good engineering on your project!
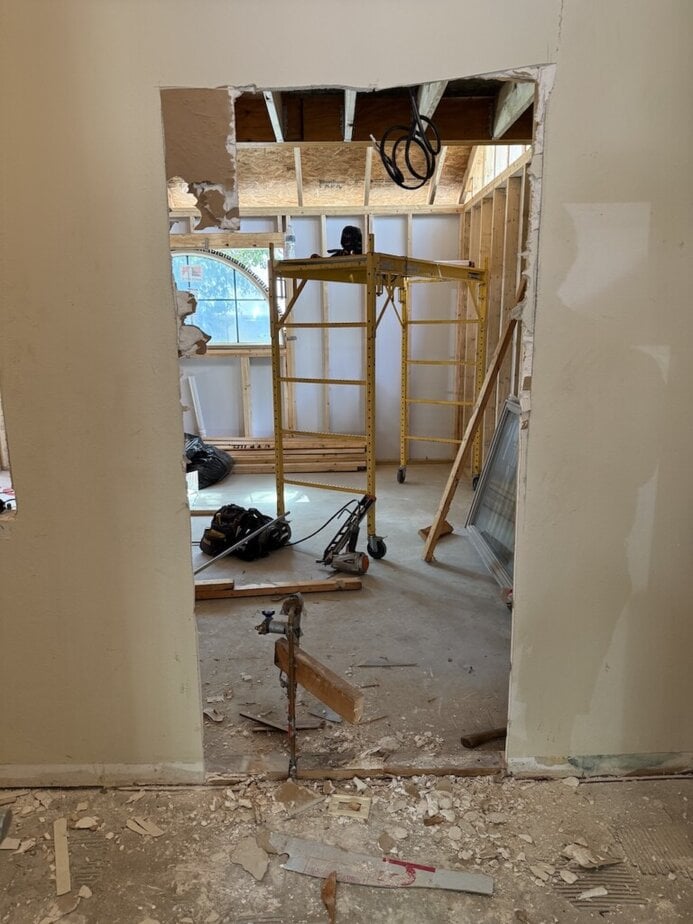
Keep an eye on this doorway in future photos. It will become a beautiful arched doorway.
The final beam to be installed was in the upstairs sun room. Carlos recessed it into the ceiling so that it would not protrude into the room. This cost the homeowner a little more but gives a much more spacious feel to the room and made it so that “it won’t look like a tack-on renovation.”
The kitchen is taking shape and beginning to get exciting.
Multiple Activities Began to Happen
Flooring, Painting, Stone & HVAC. Click on an image to enlarge it.
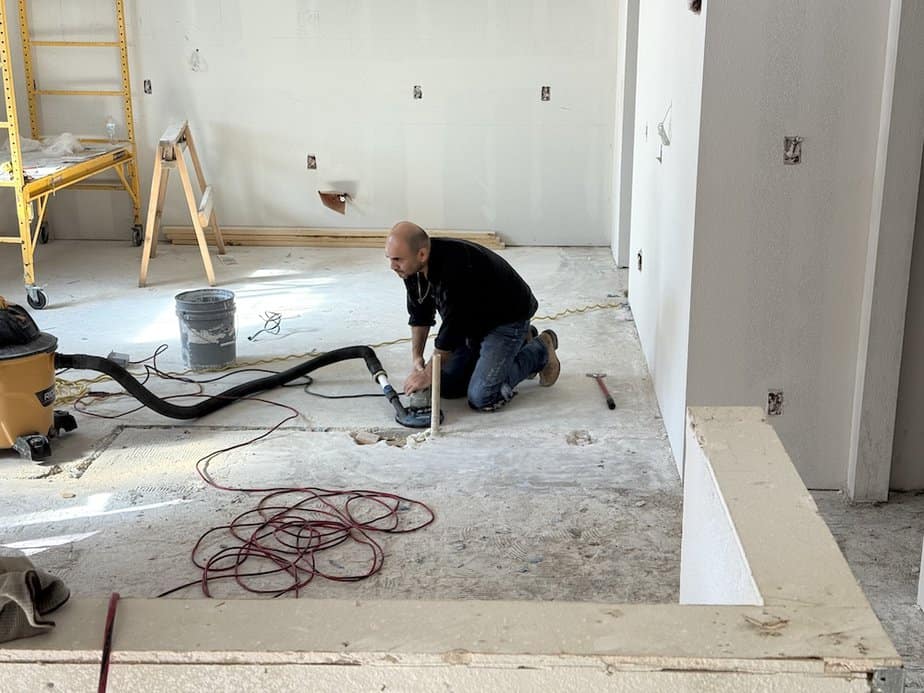
Removing the mortar from the old tiled area. If it wasn’t for the vacuum on the sander, it would have been dusty.
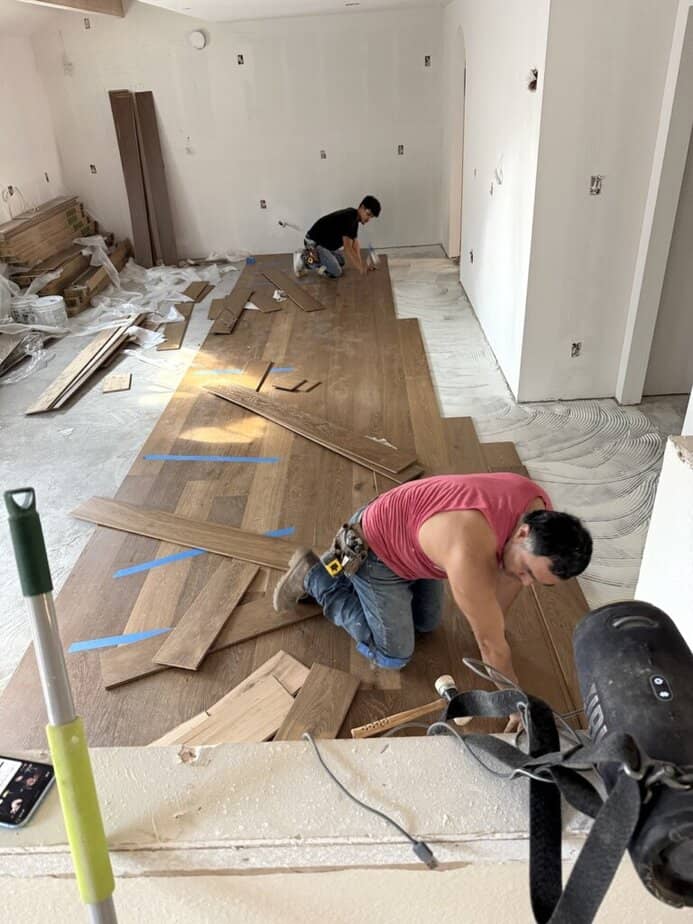
To install all the wood floors, it was a ten hour day—and they were on their knees the entire time. Ouch!
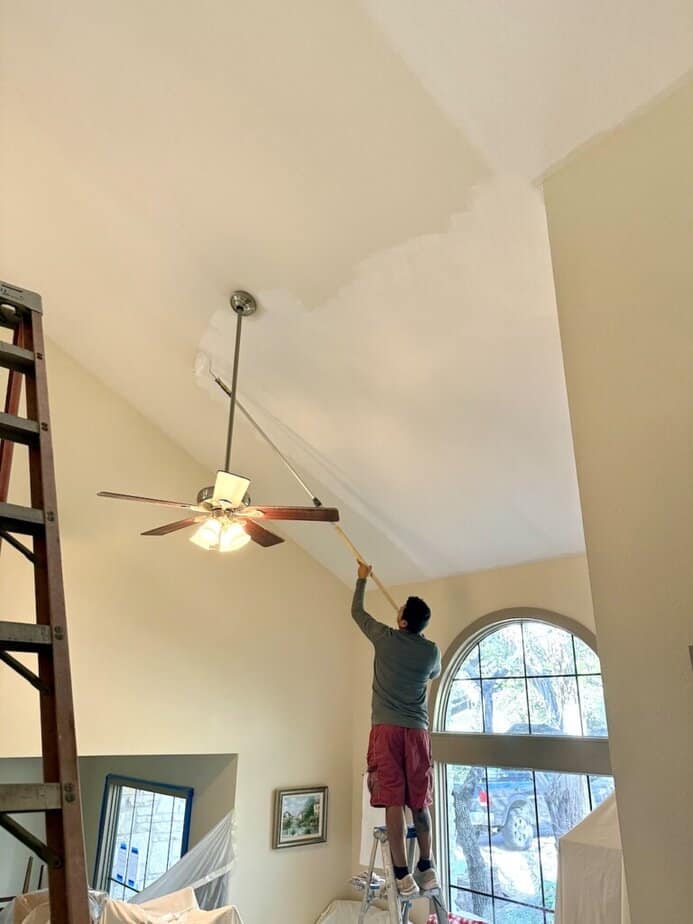
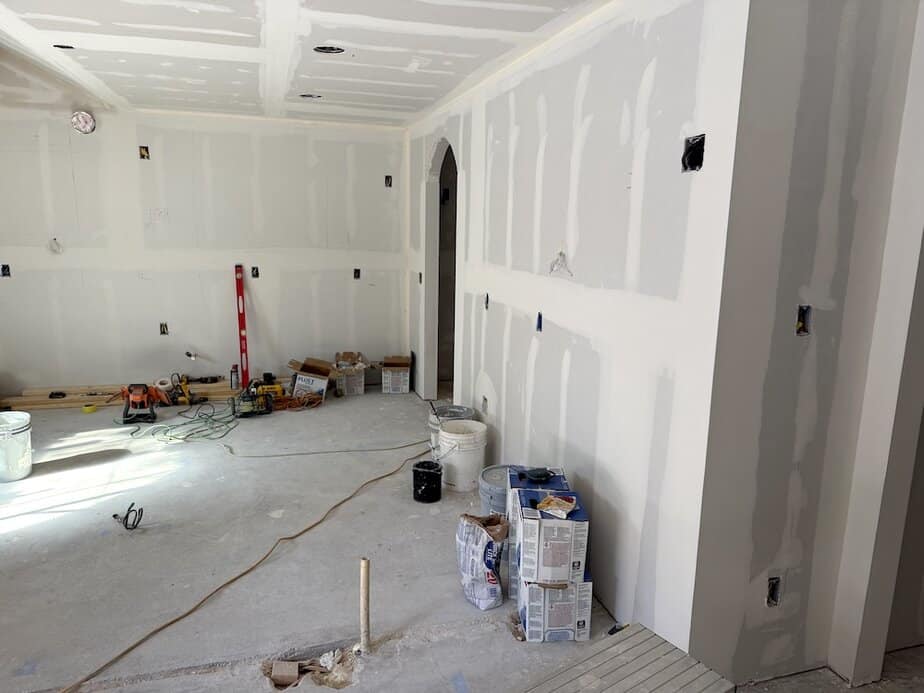
Carlos and the painter, Miguel, highly recommended that a ceiling be painted. Their keen eyes could see that the white of the new ceiling was purer than the white of the old ceiling.
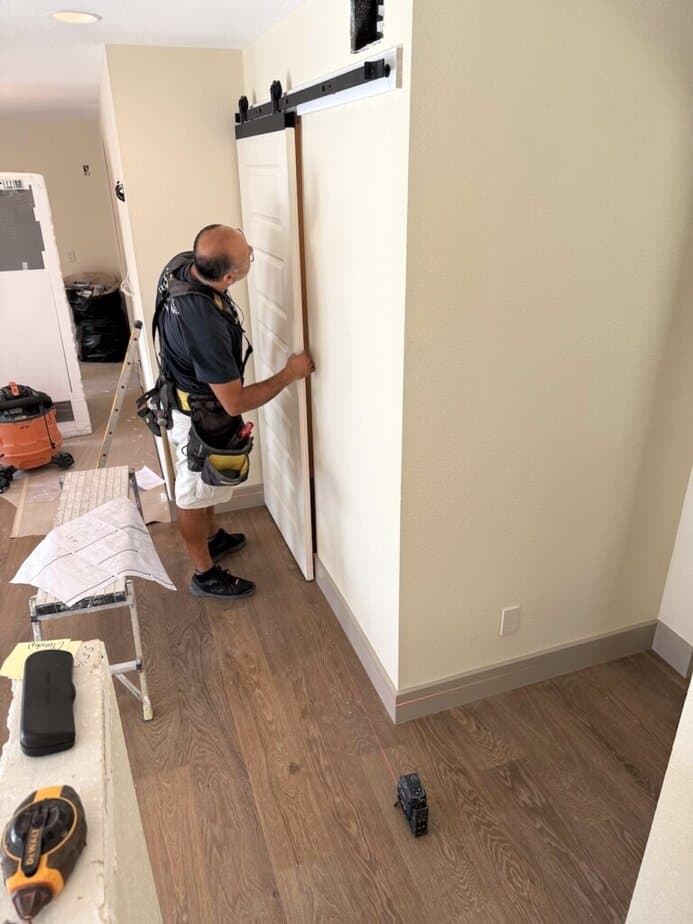
Carlos is hanging the barn door utilizing some high tech laser levels (at the bottom of the photo).
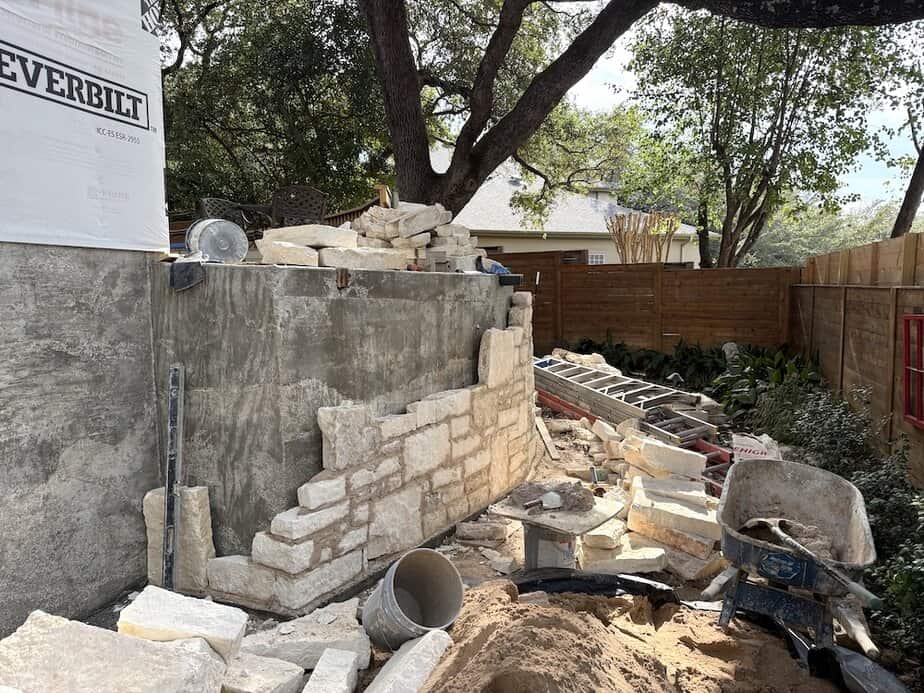
Miguel is a master stone mason. He and his son, Lionel, did outstanding work.
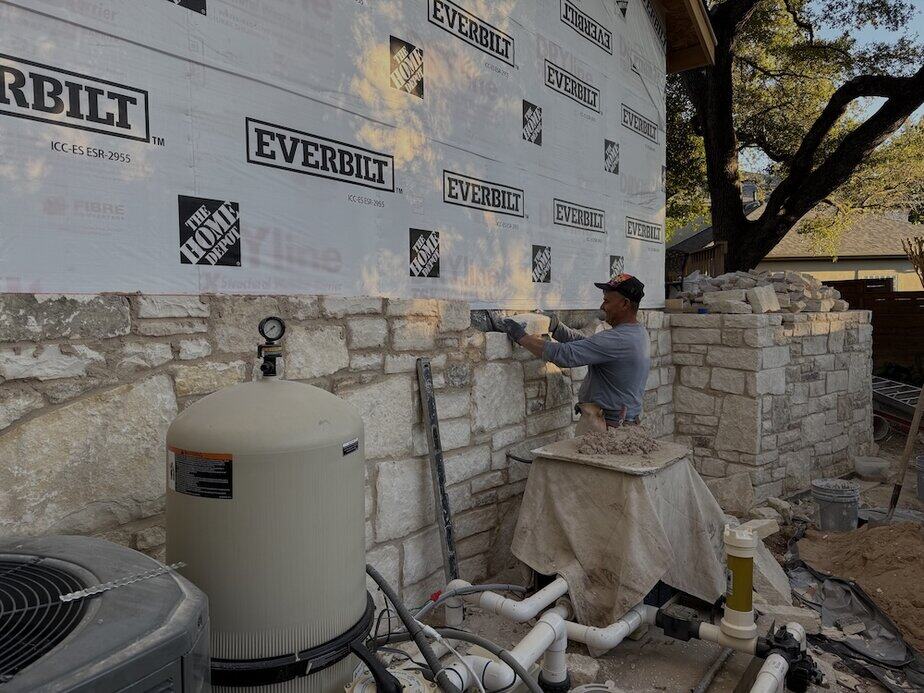
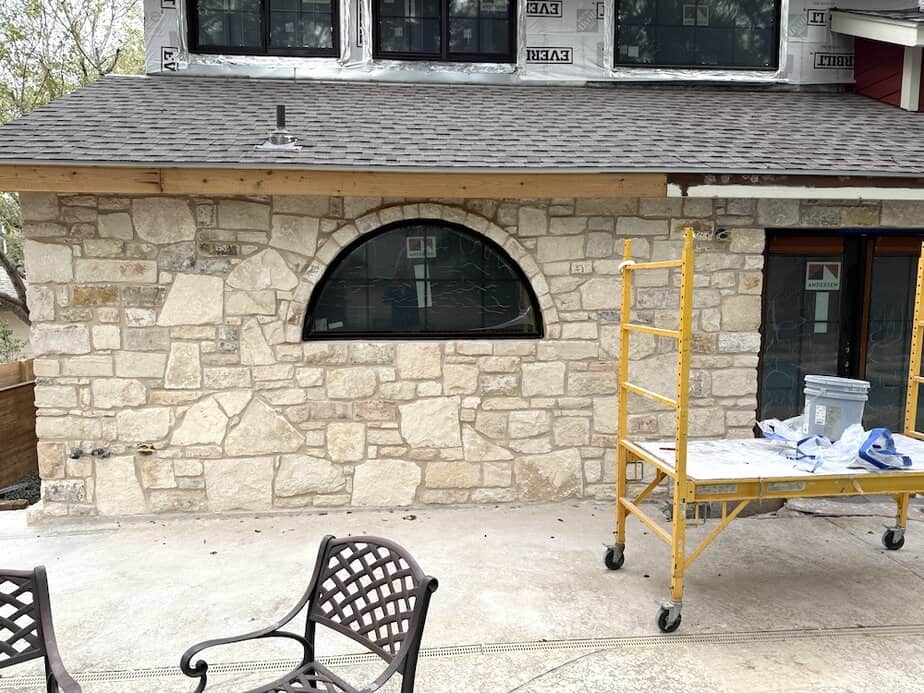
They exactly matched the styling of the existing stonework on other outside walls.

To meet city code on pervious cover, stone steps had to be removed. This was more work than anyone imagined.
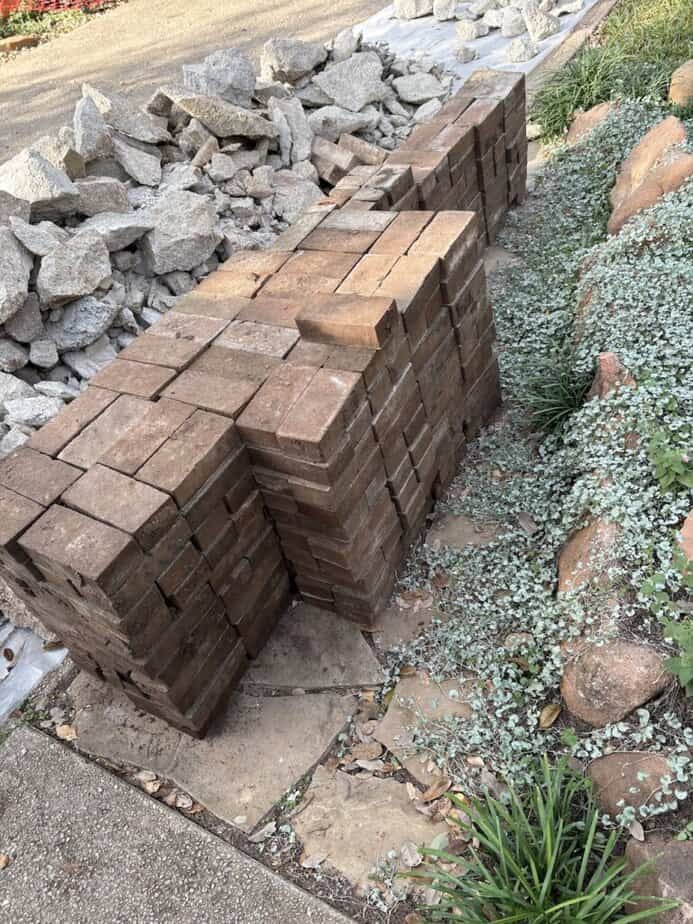
Brick pathways also had to be removed to meet city code on pervious cover. Miguel and Lionel were able to use the bricks on other projects.
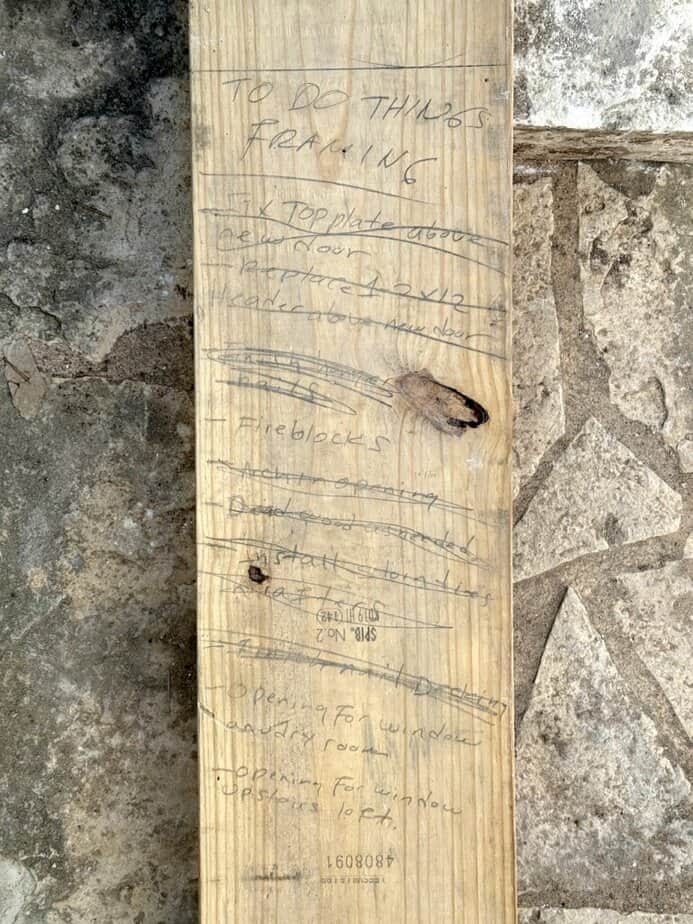
Carlos creates his own Post-It note.

Out with the old HVAC …

… and in with the new.
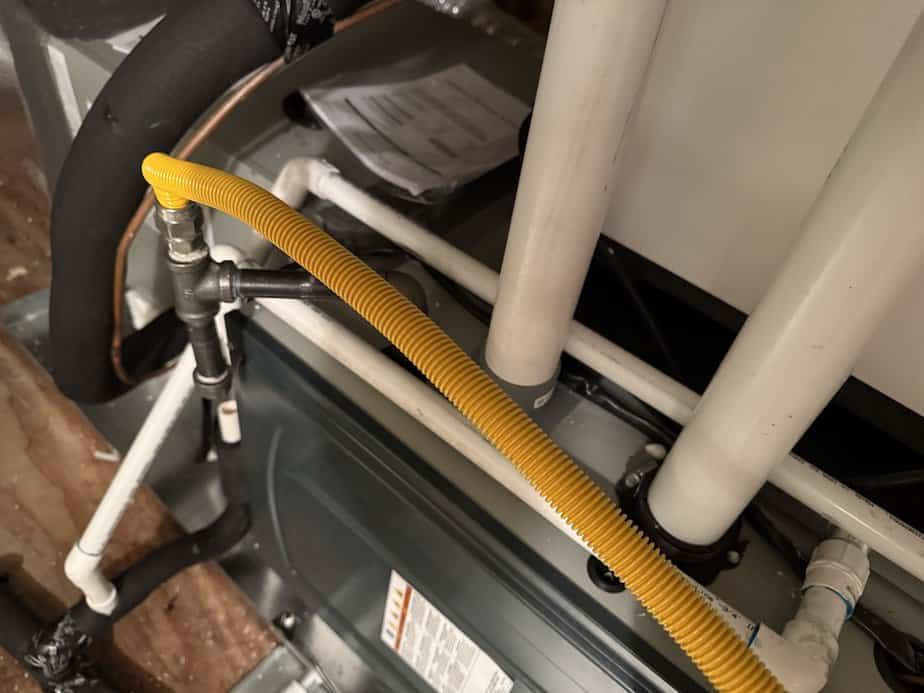
Manny and his team at Emerald HVAC did excellent work.